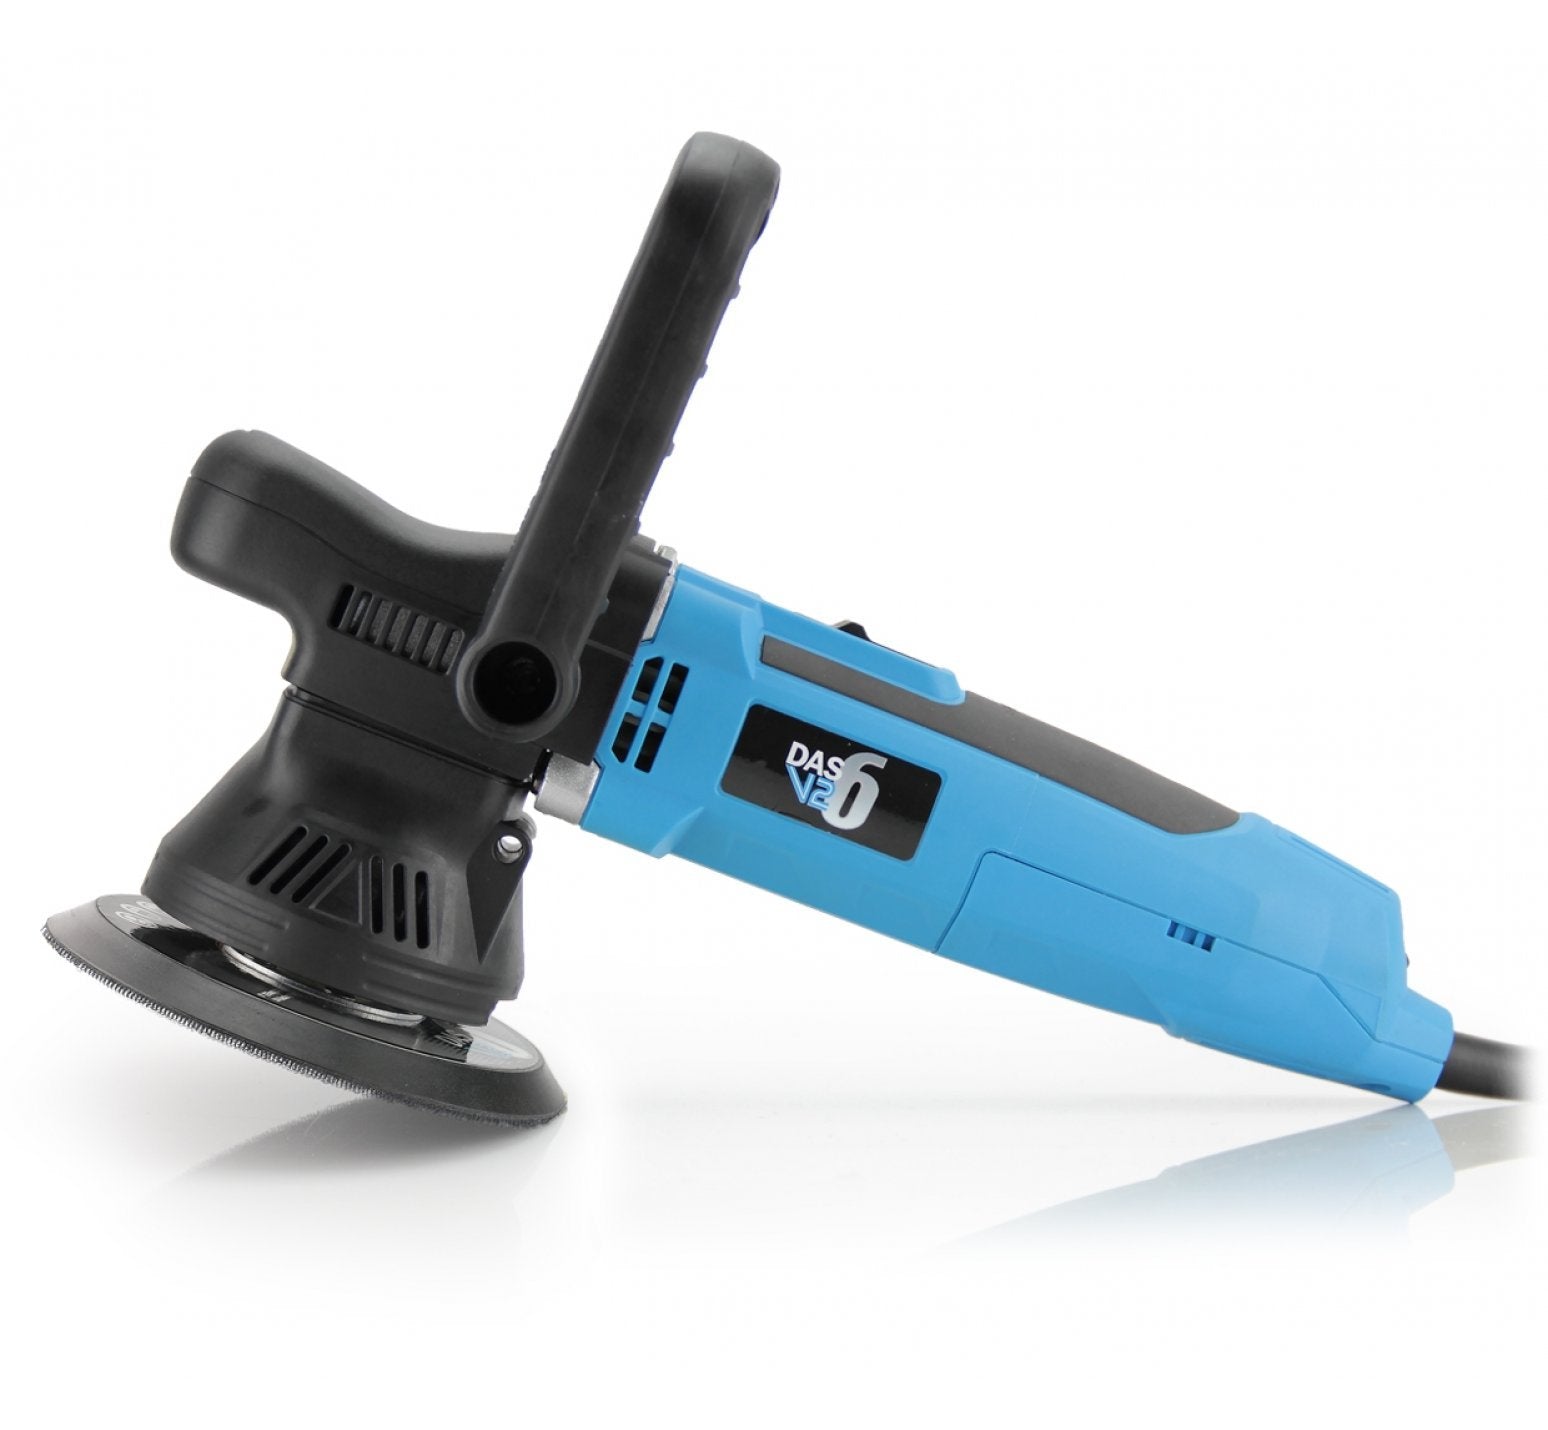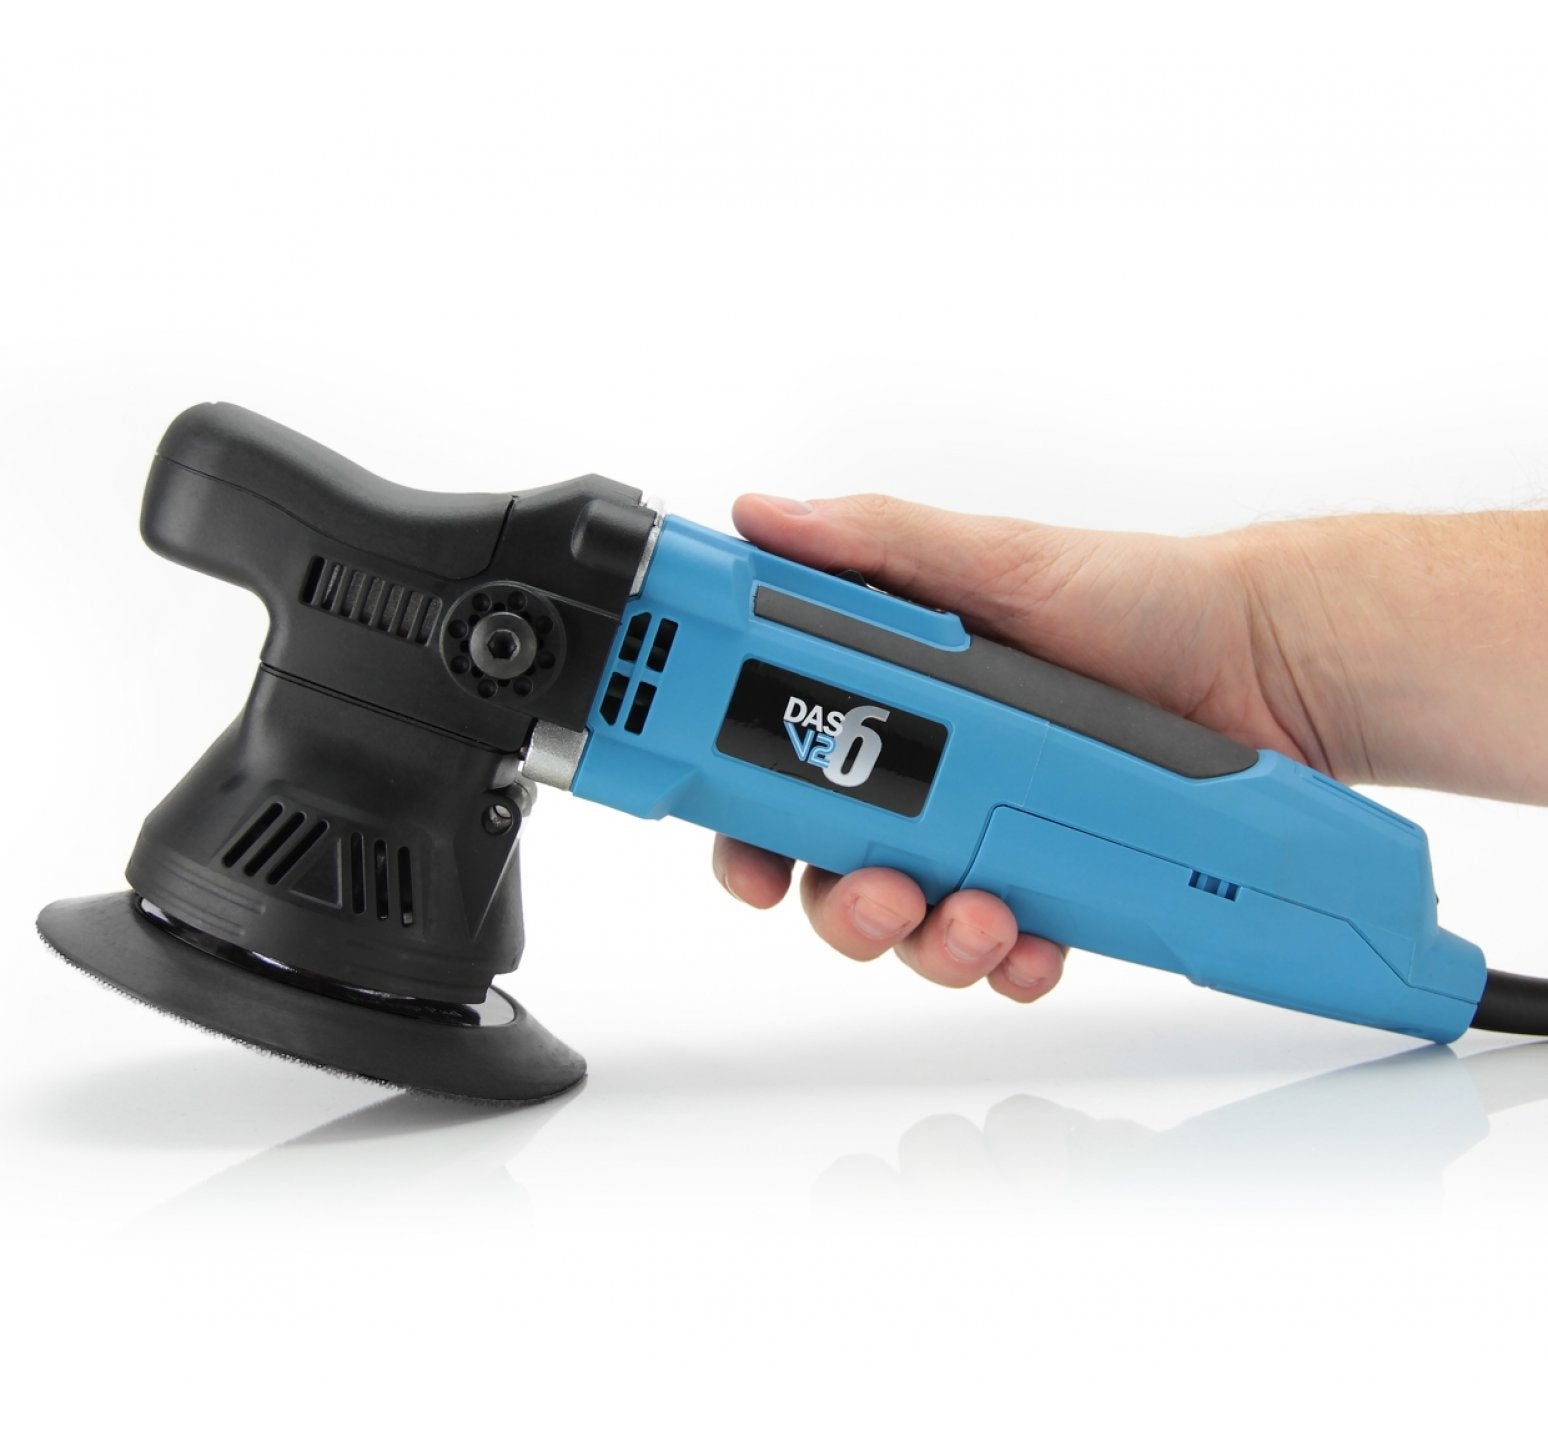
A reassuring first step into machine polishing, with enough versatility to stay useful long after you've learned the basics.
If you've been polishing by hand and wondering whether a machine would make a real difference, the DAS-6 V2 is a sensible place to start. It offers the control of a free-spinning dual action machine without asking you to invest in a more specialist setup before you've worked out what you need.
The 9mm orbit is particularly approachable. It's effective for improving swirls, light scratches and tired-looking paintwork with a suitable pad and polish, but it doesn't have the broad movement of a long-throw machine. That can make it easier to work methodically around the varied shapes and edges on an ordinary road car. As with any machine, careful technique and sensible pad choice still matter.
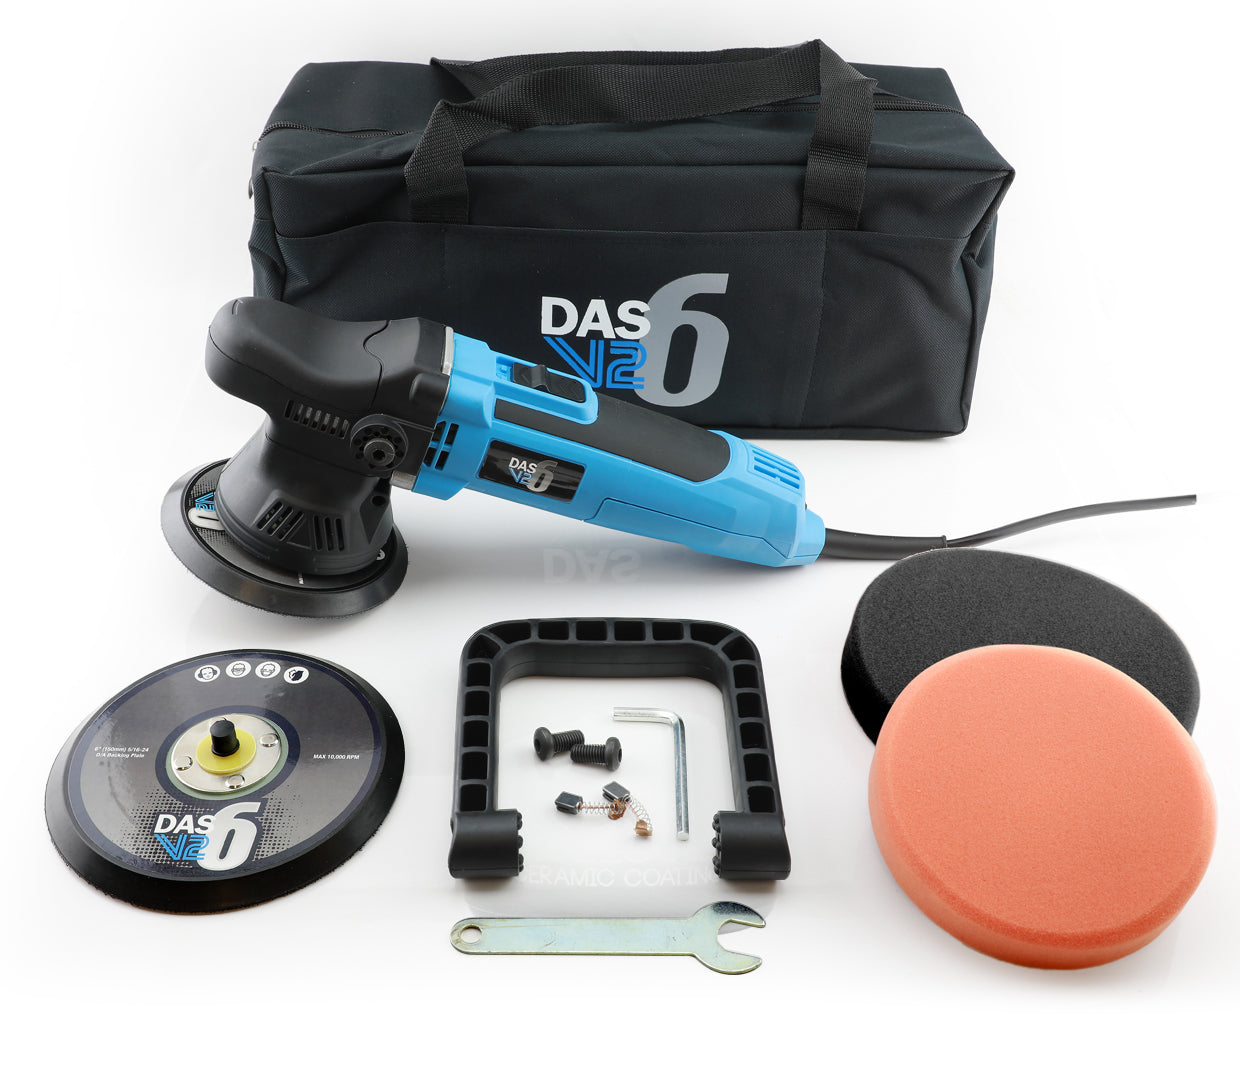
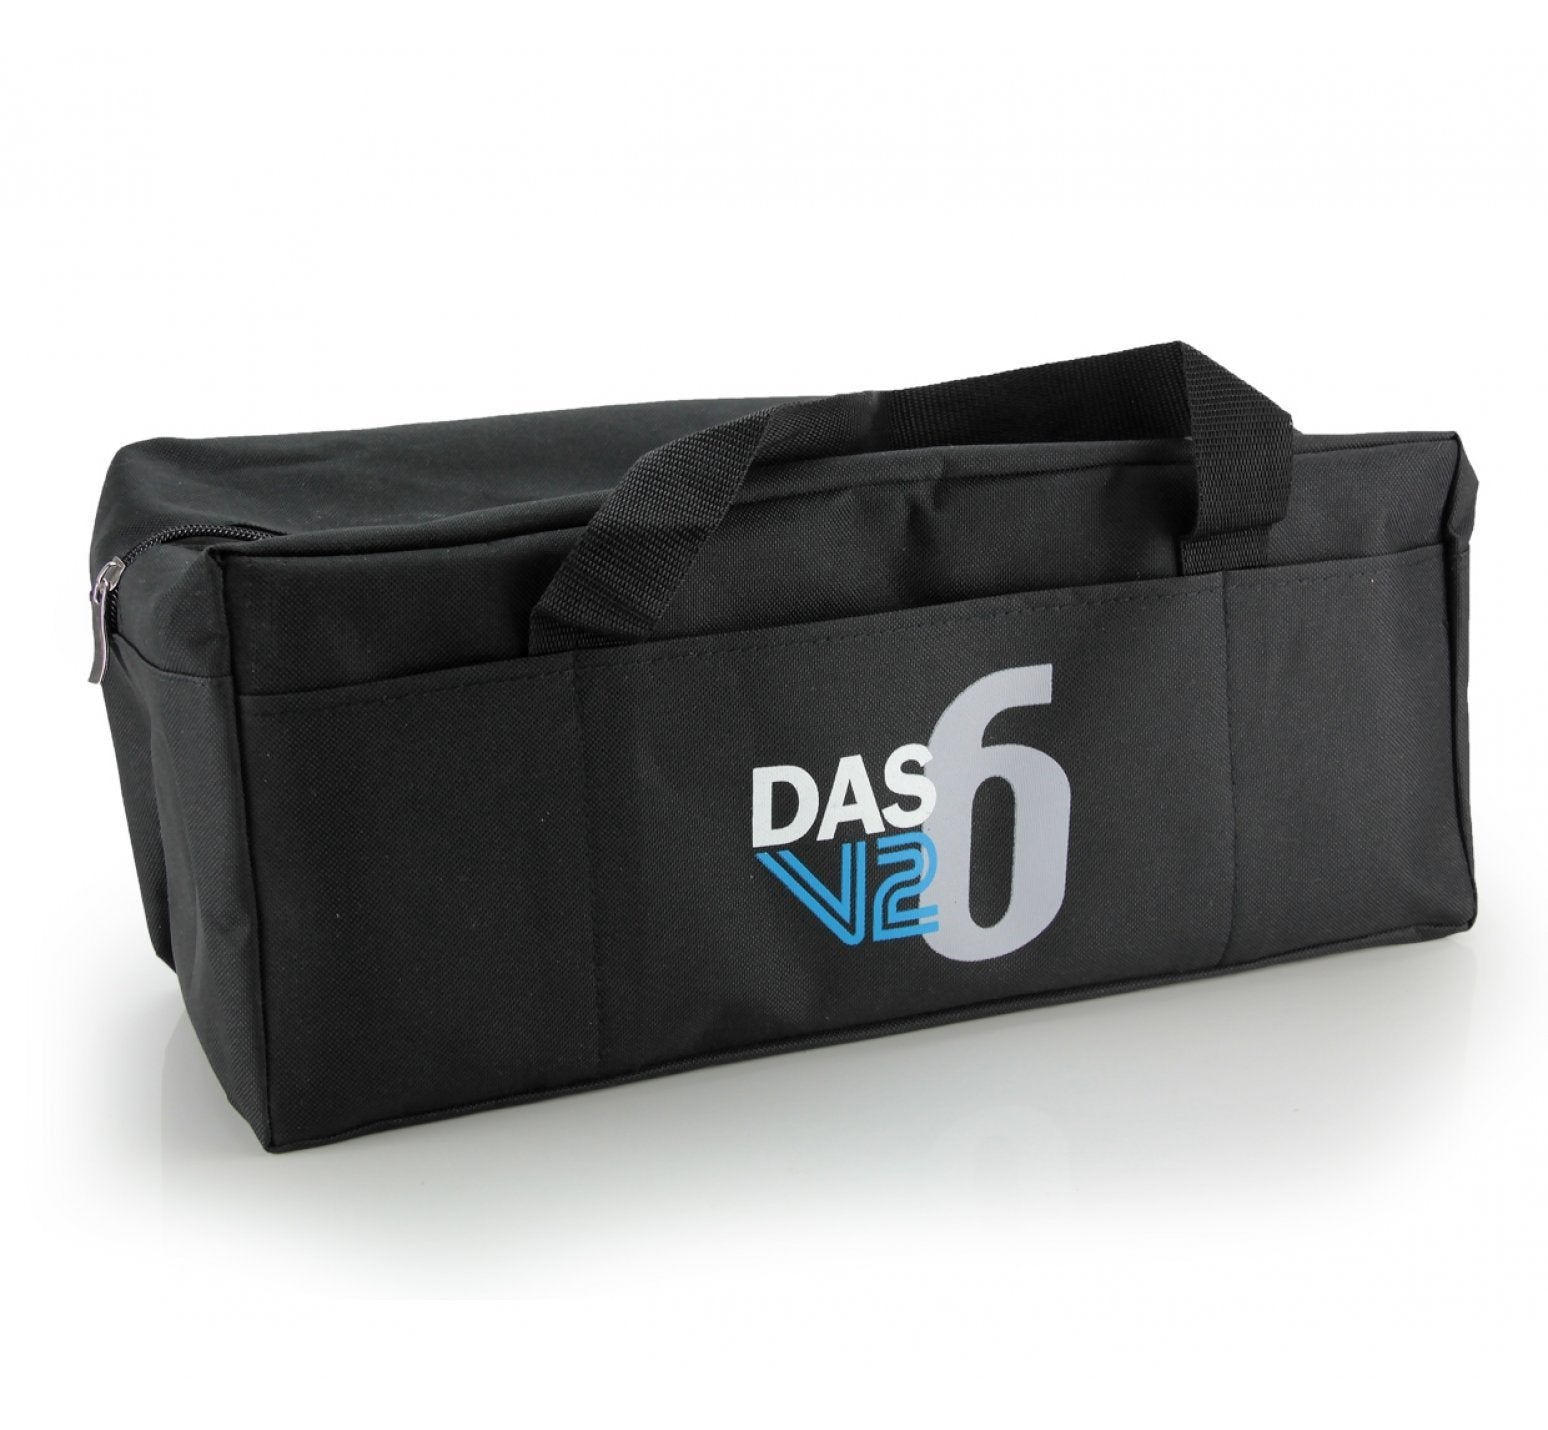
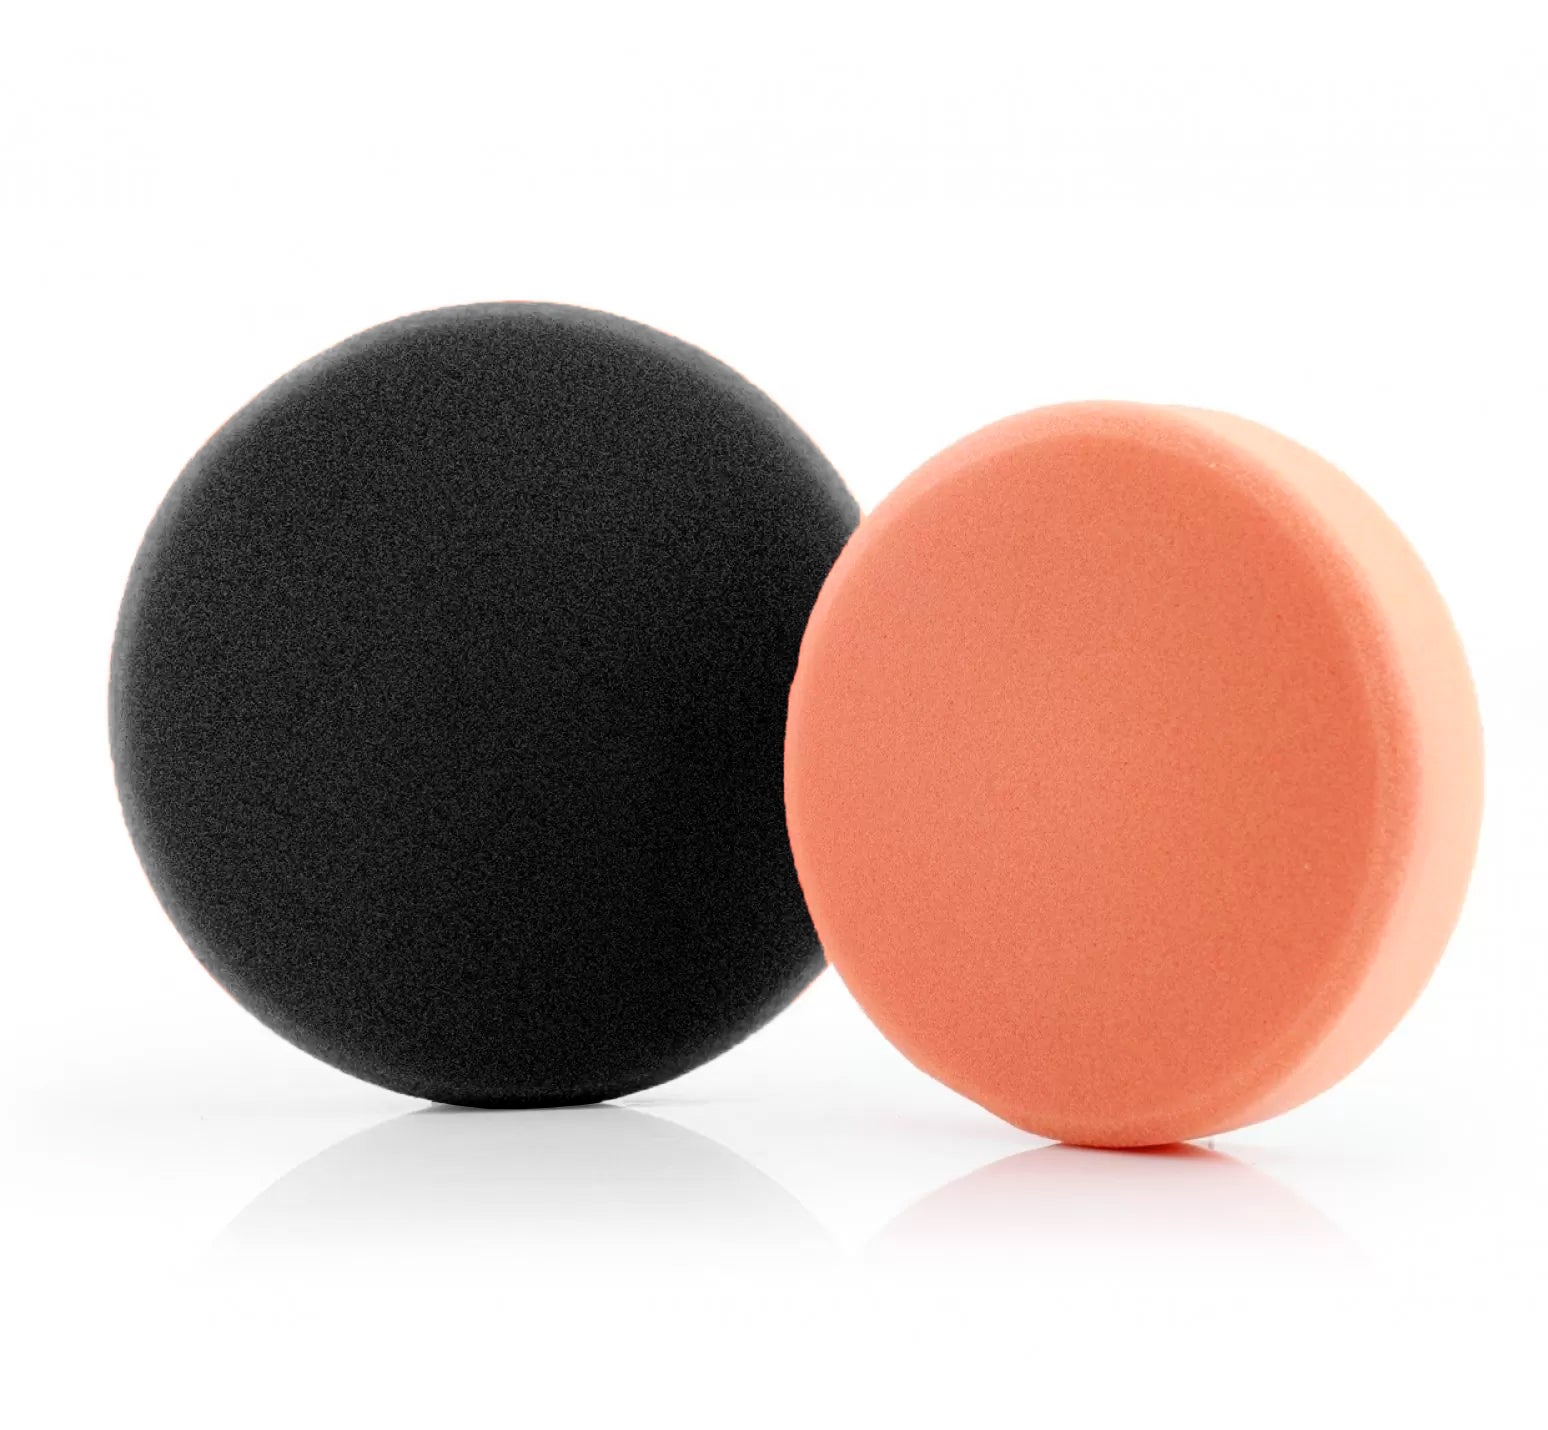
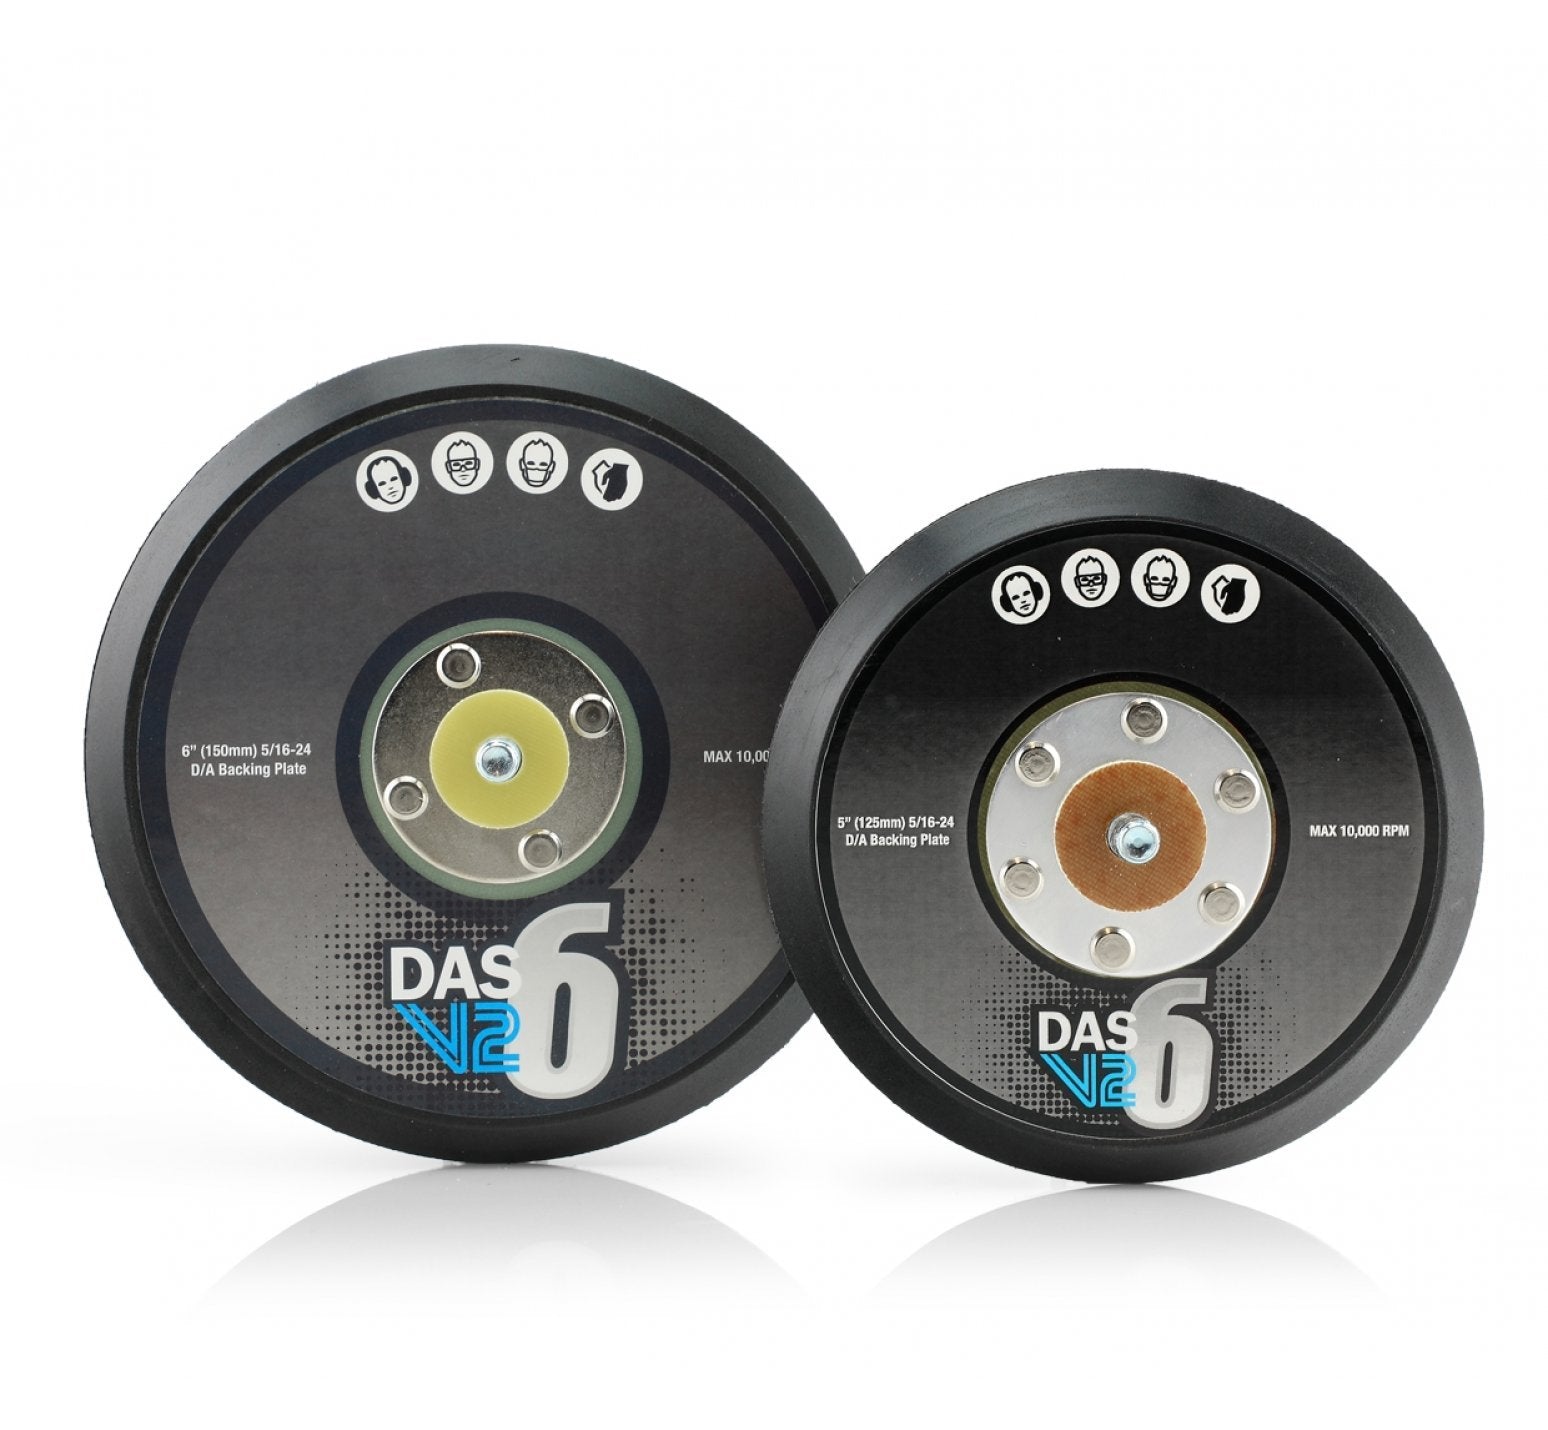
A detail we like is that the machine is factory counterweighted for the popular 125mm pad format. That's the size many enthusiasts reach for most often, and the included 125mm and 150mm backing plates give you flexibility when choosing pads for larger areas. The 5m lead, D-handle and carry case are useful everyday touches rather than flashy extras.
It's worth being clear about where this model sits in the range. The standard V2 is our pick for someone learning to maintain their own car, removing moderate wash marks and applying finishing products. If you're regularly tackling tougher correction work, the DAS-6 PRO V2 offers a more powerful motor and a smaller backing plate among its supplied accessories.
We wouldn't promise that a single pass will remove every scratch. Some marks are too deep to correct safely, and the paint itself dictates how aggressive your combination should be. But if you want to learn a repeatable polishing process and build confidence, the DAS-6 V2 has the right kind of straightforward character.
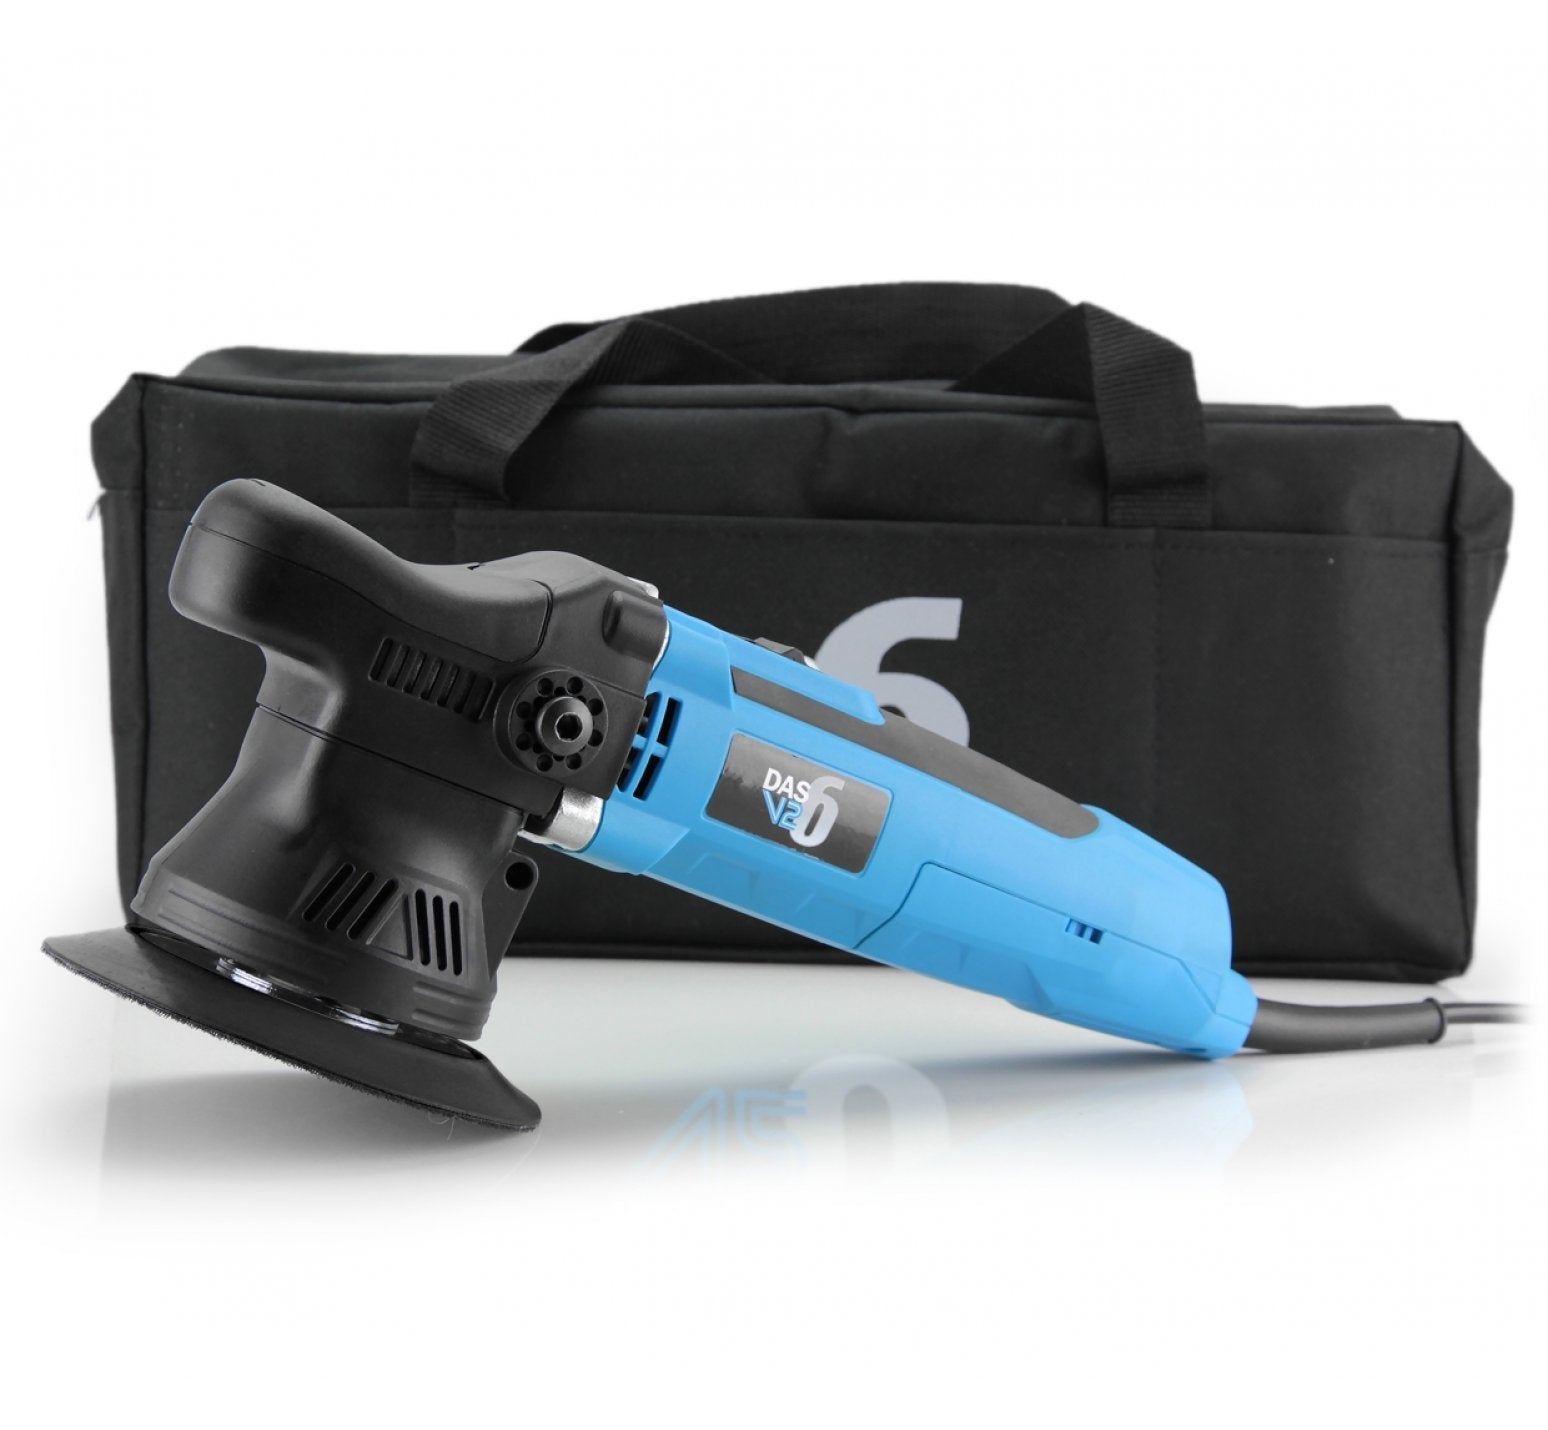
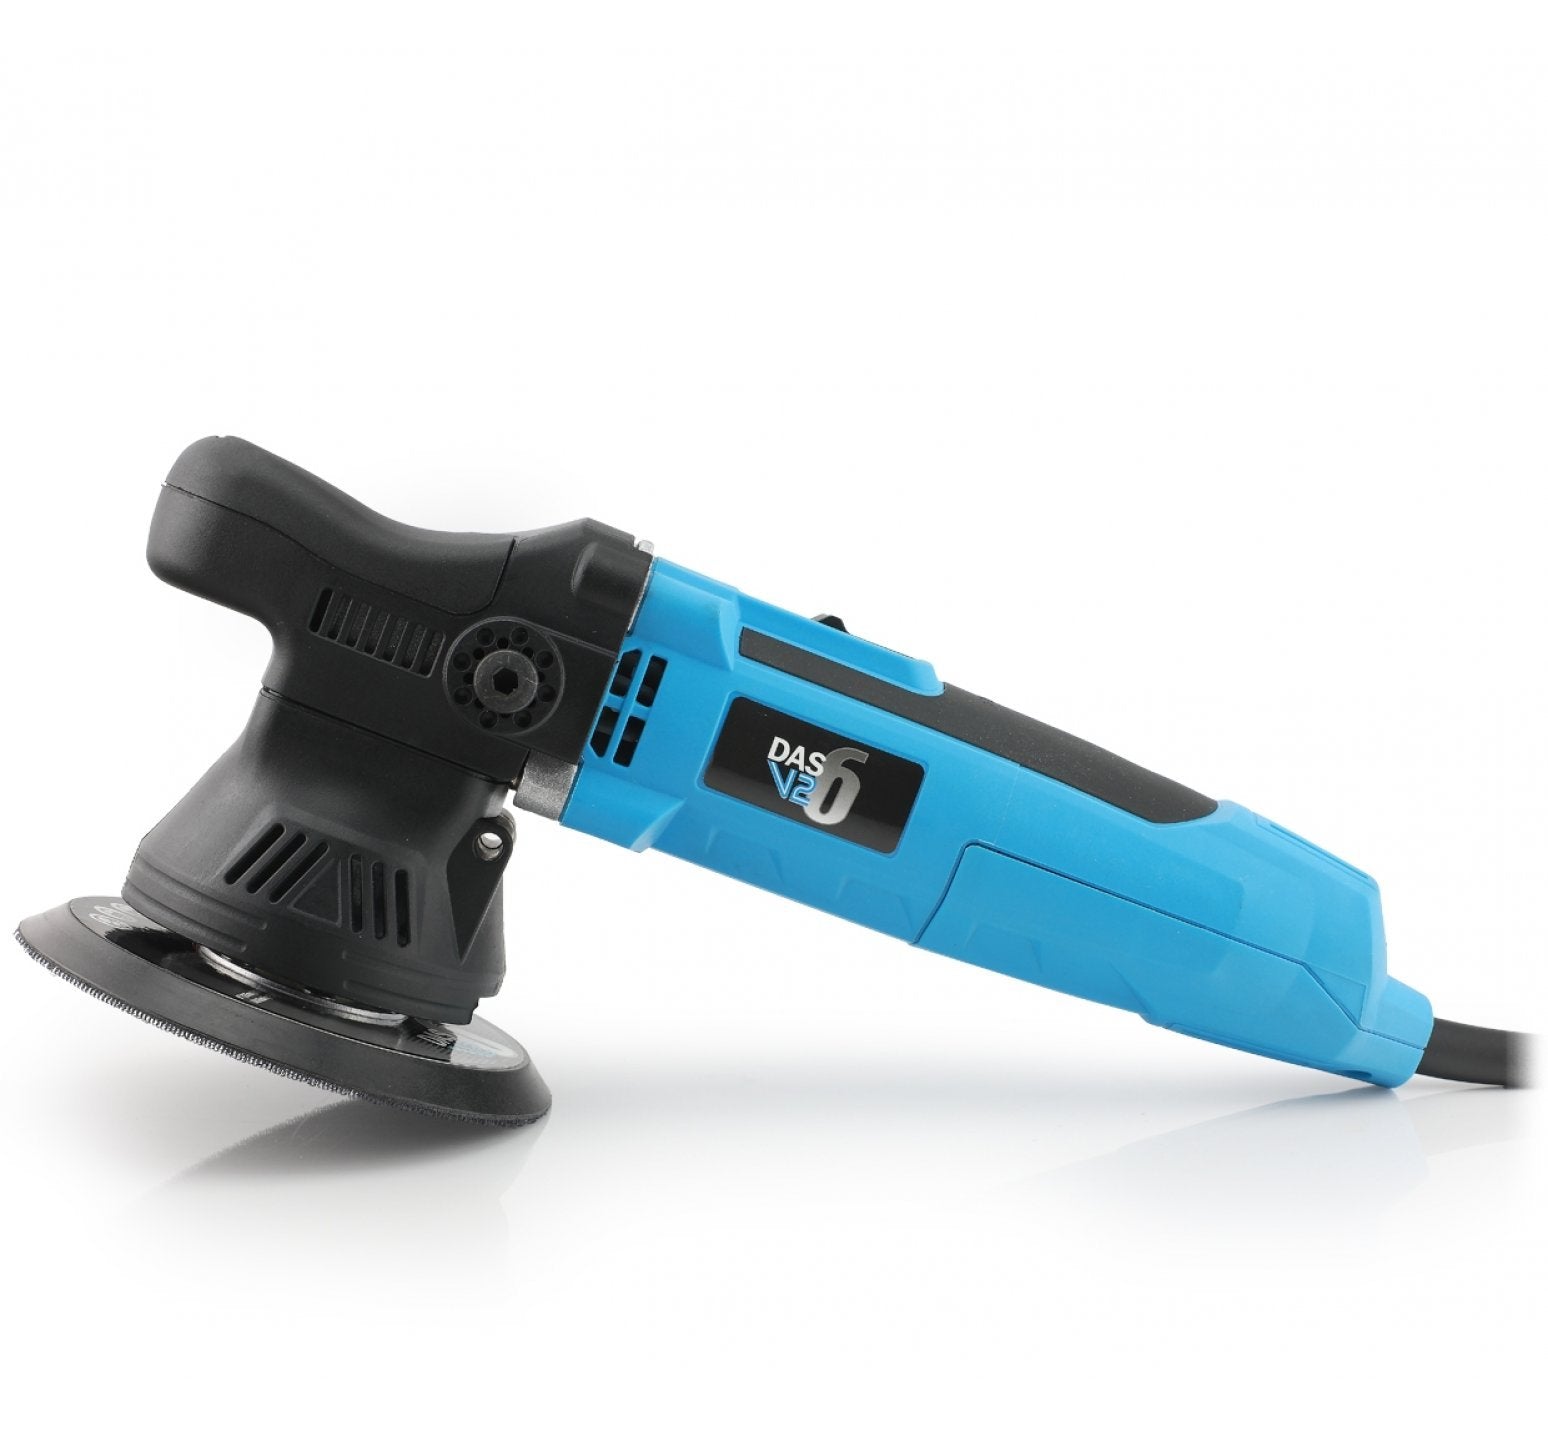
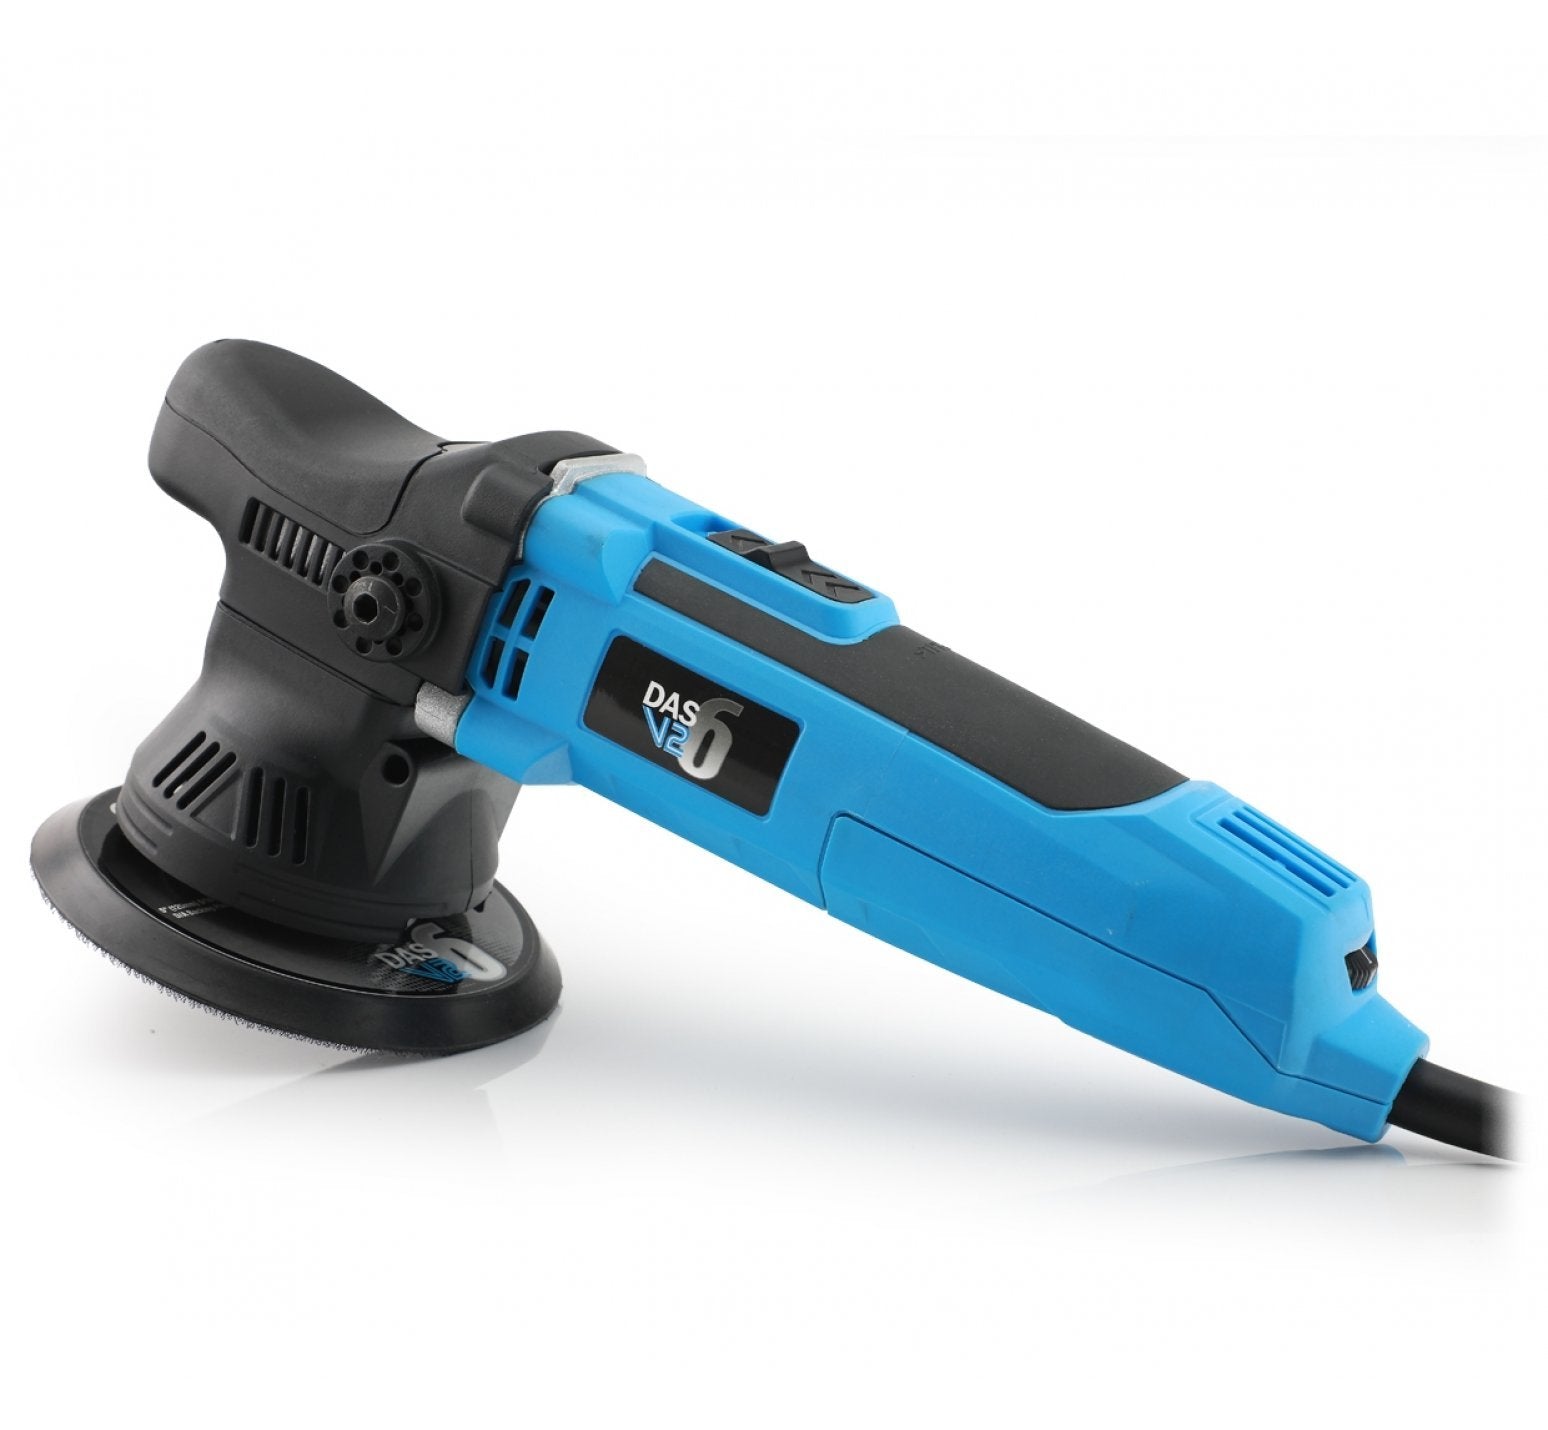
The DAS-6 V2 Dual Action Polisher is a mains-powered random orbital machine for enthusiasts who want to improve paintwork and apply polishing or finishing products with greater consistency than working entirely by hand.
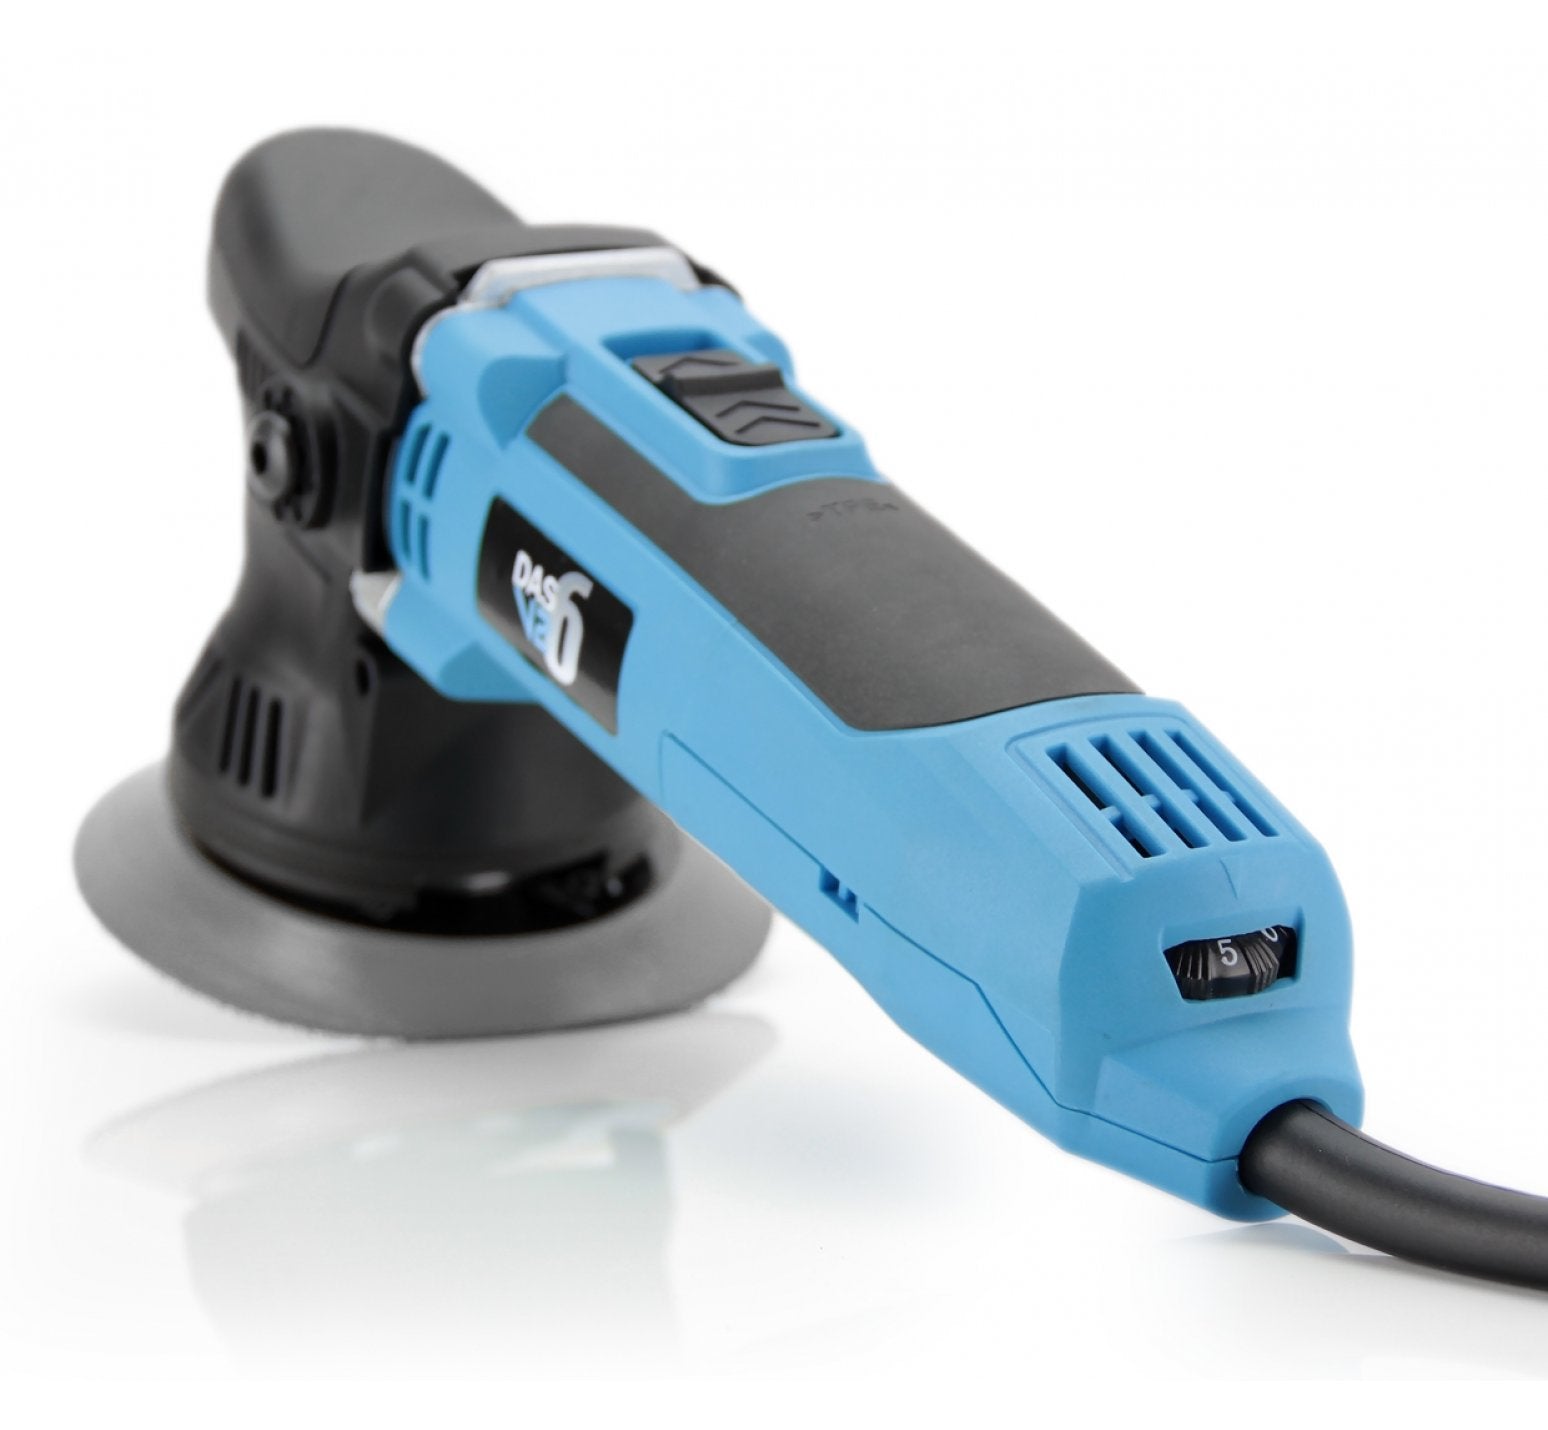
Its 9mm orbit, six-position speed control and 125mm-focused counterweight make it a practical all-rounder for routine paint enhancement. A longer 5m lead and supplied D-handle help when moving around a vehicle.
Why you'll love it:
✓ 9mm free-spinning dual action movement
✓ 650W motor rating according to the current manufacturer listing
✓ Variable six-speed control
✓ Factory counterweighted for 125mm polishing pads
✓ 125mm and 150mm backing plates supplied
✓ 5m power cable and D-handle
✓ Canvas storage case
✓ Suitable for correction, refining and applying compatible finishing products
| Machine Type | Free-spinning dual action polisher |
|---|---|
| Motor Rating | 650W |
| Orbit / Throw | 9mm |
| Speed Control | Six-position variable dial |
| Published Speed Range | 2,000–6,500 (manufacturer listing) |
| Backing Plates Supplied | 125mm and 150mm |
| Backing Plate Thread | 5/16 inch |
| Power Cable | 5m |
| Approximate Weight | 1.75kg |
| Power Supply | Mains, verify selected plug variant |
1) Prepare the paintwork:
Wash, decontaminate where necessary and dry the panel. Inspect the surface under good lighting before choosing your pad and polish.
2) Choose a conservative combination:
Start with a mild polish and suitable pad on a test area. Increase cutting strength only if the result justifies it.
3) Prime and position the pad:
Attach the correct backing plate and a compatible pad securely. Spread a small amount of polish on the working area before increasing speed.
4) Work in controlled sections:
Keep the pad flat, guide the machine steadily and avoid forcing it against contours. Monitor pad rotation and panel temperature.
5) Inspect and finish:
Wipe away residue with a clean microfibre towel. Check the result in suitable lighting, then refine or protect the finish as required.
Before use: Read the supplied operating instructions, use suitable eye protection, keep loose clothing clear of moving parts and avoid excessive pressure on edges. Disconnect power before fitting accessories.